
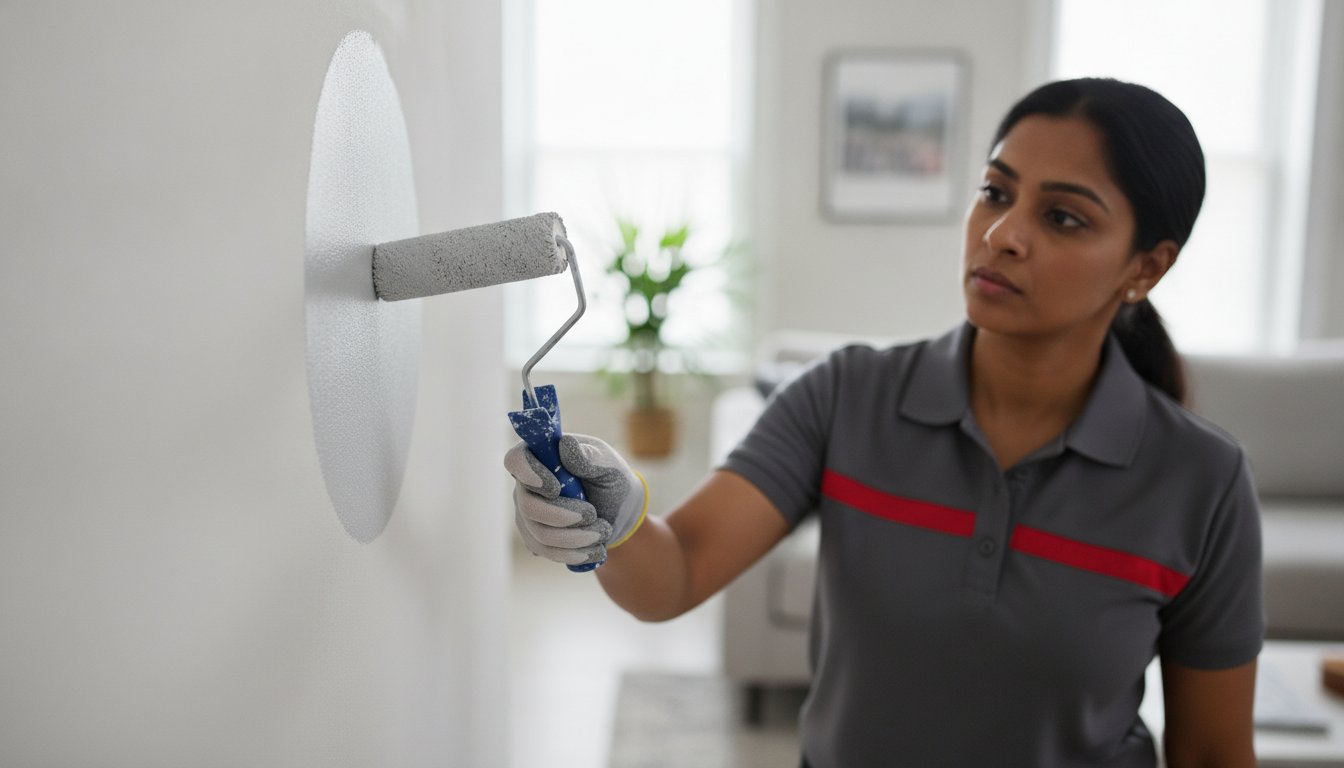
Why does a perfectly sanded drywall patch often look like a glowing "halo" once the paint dries? It's a common frustration for homeowners in Hudson and Bergen Counties who take pride in their interiors. You followed the steps to fix the hole, yet the texture is off and the sheen doesn't match the rest of the wall. Learning how to paint after drywall repair isn't just about picking a color; it's about managing the porosity of the patch to prevent visual flashing.
We understand the stress of seeing a repair that stands out rather than blending in. You want a professional result without the cost of repainting the entire room. This guide provides the exact steps to prime, texture-match, and paint over drywall patches so they become completely invisible. We'll walk you through the professional products that actually work and the techniques for seamless blending. For our neighbors in older NJ homes, we also touch on the essential lead-safe practices required for properties built before 1978, ensuring your home improvement project is as safe as it is beautiful.
Key Takeaways
- Learn how to paint after drywall repair by mastering the transition from 120-grit to 220-grit sanding for a glass-smooth surface.
- Discover why PVA primer is the essential industry standard for sealing raw joint compound and preventing "flashing."
- Master the "feathering" stroke to seamlessly blend new paint into existing walls without leaving visible edges.
- Understand when to "spot prime" a small patch versus when a "corner-to-corner" paint job is necessary for an invisible finish.
- Evaluate when a repair requires a professional touch, especially for complex plaster work in historic Hudson County homes.
Why Painting After Drywall Repair Requires a Specialized Approach
Painting a wall that's already been finished is straightforward because the surface is sealed. However, when you're looking at how to paint after drywall repair, you're dealing with two completely different surfaces: the existing semi-porous paint and the highly absorbent raw joint compound. This difference in material behavior is the primary reason why simple patch jobs often look like amateur mistakes. Raw drywall mud is essentially a sponge that reacts to moisture differently than the surrounding wall, requiring a specific sequence of professional steps to hide the transition. Many homeowners in Hudson and Bergen Counties find that skipping these steps leads to a repair that is technically flat but visually obvious.
The Science of Porosity and Paint Absorption
Joint compound is designed to be easy to sand and shape, but this makes it incredibly porous. When you apply standard latex paint directly to a fresh patch, the compound immediately "drinks" the liquids. This process pulls the binders and resins out of the paint before they can form a proper film on the surface. Suction is the rate at which drywall mud pulls resins from paint. Without those resins on the surface, the paint looks flat, chalky, and often a shade lighter than the rest of the wall. For those interested in understanding drywall and its composition, it's clear that the gypsum and paper materials require a dedicated sealer to stop this absorption. Standard "Paint + Primer" products are usually too thick to penetrate the compound and too thin to seal it, which is why they often fail on fresh repairs. Understanding how to paint after drywall repair starts with acknowledging that raw mud needs to be neutralized before it can be beautified.
Identifying the 'Halo Effect' in Residential Painting
The visual result of this uneven absorption is what professionals call "flashing" or the "halo effect." You've likely seen it in your own home or a neighbor's house. Under direct sunlight or the glow of a floor lamp, the repaired area appears as a dull, circular ghost that stands out from the rest of the wall's sheen. It's the most common complaint for DIY drywall repairs because the patch is technically smooth, but the light reflects off it differently. This happens because the texture of the raw mud doesn't match the "orange peel" or slight stipple of the existing paint. Achieving a professional-grade result means addressing these visual defects during the preparation phase so the final topcoat can lay down evenly. Our approach focuses on eliminating these halos by treating the repair as a unique substrate rather than just another part of the wall.
Phase 1: Preparing the Surface for a Seamless Finish
A successful paint job is built on a foundation of meticulous preparation. When you are learning how to paint after drywall repair, the goal is to create a surface so uniform that the human eye cannot detect where the old wall ends and the new patch begins. This starts with a disciplined sanding progression. We recommend beginning with 120-grit sandpaper to level the high spots of the joint compound, then transitioning to a 220-grit paper for a glass-smooth finish. This finer grit polishes the compound, ensuring that the texture of the patch matches the surrounding drywall paper rather than looking like a rough island of mud.
In our local NJ climate, especially during the humid summer months in Hudson and Union Counties, patience is a virtue. Before you begin preparing the surface for its first coat of primer, you must verify that the patch is 100% dry. A common mistake is painting over mud that looks white but remains damp in the center. If the patch feels cool to the touch, it still contains moisture. Painting too early will trap that water, leading to peeling paint or bubbling further down the road. While you wait, use a high-intensity work light held at a low angle against the wall. This "raking light" will highlight "holidays," which are those tiny pits, scratches, or ridges that look insignificant now but will be magnified once the paint adds a slight sheen.
Sanding Techniques for Invisible Transitions
To achieve an invisible transition, you must master the art of feather-sanding. This technique involves applying more pressure on the outer edges of the patch and less pressure toward the center. This creates a tapered edge that blends into the existing paint. Always use a rigid sanding block rather than your hand; the flat surface of the block prevents your fingers from creating "waves" or uneven valleys in the soft compound. If the repair covers a large area, our specialists often recommend professional drywall and plaster repair to ensure the structural integrity matches the aesthetic finish.
Dust Management and Surface Neutralization
Understanding how to paint after drywall repair requires a sterile workspace. Once the surface is flat, you must remove the gypsum dust that acts as a barrier between the wall and your paint. We utilize a two-step cleaning process: first, vacuum the area with a soft brush attachment to remove the bulk of the debris. Second, follow up with a high-quality tack cloth to pick up the microscopic particles. Never use a soaking wet sponge to clean fresh joint compound. Doing so can re-liquefy the mud and ruin your smooth sanding job. Instead, a barely damp microfiber cloth is the most moisture you should introduce. Taking these extra steps ensures your primer bonds directly to the substrate, providing the longevity and value your home deserves.
Phase 2: Priming and Texture Matching to Prevent 'Flashing'
Once you've achieved a smooth, dust-free surface, you face the technical hurdle that ruins most DIY projects: flashing. When learning how to paint after drywall repair, priming isn't an optional step. It's the critical barrier that prevents raw joint compound from absorbing the resins and sheen of your topcoat. If you skip this, the patch will always look duller or lighter than the rest of the wall, regardless of how many coats of paint you apply. Professional results depend on creating a uniform substrate that accepts paint at the same rate as the surrounding area.
The decision to spot prime or prime the entire wall depends on the size of the repair and the final sheen. For small nail holes or minor scuffs, a spot prime is usually sufficient. However, for larger patches or walls with a high-sheen finish like eggshell or satin, we often recommend priming the entire wall from corner to corner. This ensures the texture and absorption rate are identical across the whole surface, making the repair truly invisible. While applying these products, always follow safe painting practices by ensuring proper ventilation and wearing appropriate protection, especially in confined spaces like NJ apartment bathrooms or basements.
Choosing the Right Primer for Drywall Repairs
PVA (Polyvinyl Acetate) primer is the industry standard for sealing new drywall and patches. It's formulated to bind to the gypsum and paper, creating a non-porous film that "locks" the surface. If your repair was caused by water damage, don't reach for standard PVA; instead, use a dedicated stain-blocking primer to prevent old water stains from bleeding through your fresh finish. A high-build primer is a specialized tool used to fill and hide minor sanding marks or surface irregularities in one pass.
Matching Wall Texture for a Professional Result
Matching the existing texture is where true craftsmanship shows. If your home has an "orange peel" or "knockdown" finish, a smooth patch will stand out immediately. Aerosol texture sprays are a convenient solution for small repairs in Hudson County homes, allowing you to mimic the factory finish of modern drywall. For walls with a standard "roller stipple," use a 1/2-inch nap roller to apply your primer. This creates a slight texture that matches the existing roller marks on the rest of the wall. The "dry-brush" technique is also essential; as you reach the edges of your primed area, use a brush with very little product to lightly "flick" the primer into the old paint. This prevents a hard edge and ensures the primer seals the transition where the mud meets the existing wall.

Phase 3: Expert Painting Techniques for Blending Patches
The final application of paint is the moment of truth. Even with perfect sanding and priming, your repair can still fail if you leave "lap marks" or hard edges where the new paint meets the old. When mastering how to paint after drywall repair, the most critical skill is the feathering motion. This technique involves creating a microscopic taper in the paint film so there isn't a visible ridge between the patch and the rest of the wall. Professional results aren't just about the color; they're about how the light interacts with the entire surface.
If your repair is larger than a dinner plate, we recommend painting the entire wall from corner to corner. While it takes more time, it's often the only way to guarantee a 100% invisible finish, especially in the bright, natural light common in Hudson County brownstones. For smaller fixes, keeping a "wet edge" is vital. This means you must work quickly enough that you're always overlapping wet paint with wet paint. If you paint over a section that has already begun to "set," you'll create a permanent textured line that no amount of extra paint can hide. If you're concerned about achieving this level of precision on a prominent wall, you can book a professional interior painting service to ensure a flawless, seamless result.
Mastering the Feathering Motion
To feather your paint correctly, follow this starburst pattern:
- Apply the majority of the paint to the center of the patch.
- Roll or brush outward toward the edges of the repair.
- Gradually decrease the pressure on your tool as you move away from the center.
- Use a "dry roller"—one that has most of its paint already applied—to lightly go over the outer three inches of the transition zone.
This process removes excess paint buildup at the edges, ensuring the new coat fades into the existing wall texture without leaving a raised "halo."
Sheen Management and Color Matching
Flat and matte finishes are much more forgiving when it comes to patching. However, if your walls have an eggshell, satin, or semi-gloss sheen, the angle of the light will highlight any imperfections in your technique. You must also account for UV fading. Over time, the sun changes the color of the paint on your walls, meaning paint from the original can might not match perfectly anymore. Applying two topcoats is non-negotiable; the first coat seals the primer, while the second coat provides the true color and sheen depth. For more on achieving a uniform look, refer to our Expert Drywall and Plaster Repair: The NJ Homeowner’s Guide to Seamless Walls.
Achieving a Professional-Grade Result in Your NJ Home
There is a significant difference between a functional repair that simply fills a hole and an aesthetic masterpiece that restores a wall to its original glory. While many homeowners can manage a basic patch, the technical discipline required to make that patch vanish under a fresh coat of paint is what separates a DIY project from a professional finish. A visible repair can actually detract from your property's value; it signals to future buyers that maintenance might have been handled without professional oversight. Investing in high-quality home painting services ensures your interiors remain flawless and your investment is protected. When you understand how to paint after drywall repair, you realize that the final result is only as good as the meticulous preparation that preceded it.
For residents in Hudson, Union, and Bergen Counties, the standard for home maintenance is high. Whether you are prepping a brownstone for sale or simply refreshing your long-term family home, a seamless finish is the goal. Mastering how to paint after drywall repair involves more than just a brush and a can of paint. It requires a deep understanding of light reflection, surface porosity, and material compatibility. When these elements align, the repair becomes invisible, leaving you with walls that look as though they were never damaged in the first place.
If you are looking to complement these repairs with broader home upgrades or professional remodeling, you can check out BrightWise Handyman for high-quality home improvement services.
When to Call the Professionals
Some repairs move beyond the scope of a weekend project. Large-scale ceiling repairs are particularly challenging because gravity works against you, making it difficult to achieve a flat, smooth surface without professional-grade tools. Historic homes in Union County often feature complex plaster textures that are nearly impossible to replicate with standard hardware store supplies. If you have attempted a repair and find that a persistent "halo" or ghost patch remains despite your best efforts, it's time to call in a specialist. We bring the technical precision needed to match historic finishes and ensure structural integrity.
The Hudson Line Painters Difference
Our team treats every wall as a canvas that deserves respect. We utilize a proprietary procedural framework for drywall and plaster repair that prioritizes transparency and technical excellence. This systematic approach ensures that every step, from the initial sanding to the final topcoat, is executed with craftsman-level discipline. We are also deeply committed to site etiquette. Our crews maintain dust-free environments and respect your living space as if it were our own. If you are ready to transform your home with invisible repairs and premium finishes, contact us for a consultation. We proudly serve homeowners throughout Hudson, Union, and Bergen Counties who value longevity and meticulous care.
Restore Your Walls to Flawless Perfection
Achieving a seamless wall requires more than just a quick patch. It demands a disciplined approach to surface preparation and a deep understanding of how raw materials interact with light. By utilizing the correct PVA primers to seal porosity and mastering the delicate feathering technique, you can ensure that your repairs remain invisible even under the harshest sunlight. Learning how to paint after drywall repair is a fundamental skill for maintaining your property's aesthetic value, but it's the technical precision in the preparation phase that creates a truly professional-grade finish.
If you're facing complex repairs or simply want the peace of mind that comes with a craftsman's touch, our team is ready to assist. Serving Hudson, Union, and Bergen Counties since 2018, Hudson Line Painters are specialists in seamless drywall and plaster restoration. We're a fully insured and locally operated NJ team that values technical excellence and site etiquette as much as the final result. Get a Free Estimate for Your Next Painting Project and see the difference that meticulous care makes. Your home is your most significant investment; treat its surfaces with the craftsmanship they deserve.
Frequently Asked Questions
Do I really need to prime after drywall repair if I use a paint-and-primer-in-one?
Yes, you should always use a dedicated PVA primer on raw joint compound. While 2-in-1 products are convenient for previously painted surfaces, they don't have the same sealing properties as a specialized primer. Raw mud is incredibly thirsty and will soak up the liquids in your paint, leading to a dull, uneven finish that stands out from the rest of the wall.
How long should I wait for drywall mud to dry before I start painting?
You should typically wait at least 24 hours for the joint compound to cure completely. In humid New Jersey environments, this timeframe can extend, especially if the patch is deep. Always check that the mud has turned from a translucent gray to a solid, bright white. If the area feels cool to the touch, it still contains moisture and isn't ready for primer.
Why does my drywall patch look darker than the rest of the wall after painting?
This darkening is usually caused by "suction," where the porous patch pulls the pigment and resins out of the paint. It's a common frustration when learning how to paint after drywall repair without proper preparation. Without a sealer, the patch absorbs the paint differently than the sealed wall, resulting in a color shift or a flatter sheen that looks like a dark shadow.
Can I use a hairdryer to speed up the drying time of my drywall repair?
You should avoid using a hairdryer because forced heat often causes the joint compound to shrink and crack. When the surface dries faster than the interior, it creates tension that leads to structural failure in the patch. It's better to use a floor fan to improve air circulation in the room, which encourages natural evaporation without compromising the integrity of the repair.
What is the best type of roller nap for painting over a drywall patch?
A 1/2-inch nap roller is generally the best choice for most residential walls in Hudson and Bergen Counties. This nap thickness creates a subtle stipple that matches the existing texture found on standard drywall. If your walls are exceptionally smooth, a 3/8-inch nap may be more appropriate, but the 1/2-inch version is the industry standard for achieving a seamless, professional blend.
Do I need to sand between the primer coat and the first coat of paint?
Yes, a light scuff sand with 220-grit sandpaper is a critical step for a professional finish. Primer can sometimes raise the fibers of the drywall paper or trap microscopic dust nibs that feel rough to the touch. A quick pass with fine sandpaper removes these imperfections, ensuring that your final topcoat of paint lays down perfectly smooth and bonds securely to the surface.
What should I do if the texture of the patch doesn't match the rest of the wall?
You may need to apply a skim coat or use an aerosol texture spray to mimic the surrounding area. If the patch is too smooth, it will reflect light differently than the rest of the wall. For historic plaster or complex knockdown textures, matching the existing aesthetic often requires the specialized tools and experience of a professional contractor to ensure the repair is truly invisible.
Is it necessary to repaint the entire wall after a small drywall repair?
It's often necessary to repaint from corner to corner if you want a 100% invisible result. Even with a perfect color match, new paint has a slightly different sheen than aged paint, which creates a visible "patch" under certain lighting. Painting the entire wall is a core technique in how to paint after drywall repair because it eliminates the possibility of sheen flashing or lap marks.


