

Careful removal is the first step toward a smooth wall, not just a way to save the tiles. How to repair a wall after removing tile comes down to clearing loose adhesive, replacing drywall that is too damaged to patch, then taping and applying at least two skim coats of joint compound. Pry slowly so the force goes into the tile, not the wall.
Finding chunks of drywall or plaster attached to backsplash tile is frustrating, but it does not always mean the whole wall needs replacing. This guide covers protecting the work area, removing tile and mortar, assessing the surface, and repairing drywall seams before sanding and painting. You’ll learn when a patch is suitable and why a flat, solid surface matters for a lasting finish.
Key Takeaways
- Protect nearby counters and appliances before loosening backsplash tile, and use safety gear to guard against sharp fragments.
- Direct prying force toward the tile rather than using the wall as leverage to help limit drywall damage.
- Remove raised adhesive and unstable wall material so the repaired surface has a sound, even base.
- Match replacement drywall to the existing wall, then tape seams and build a smooth finish with successive coats of compound.
- Assess whether the surface is drywall or plaster before choosing the right repair approach and preparing it for paint.
Taping and mudding drywall joints
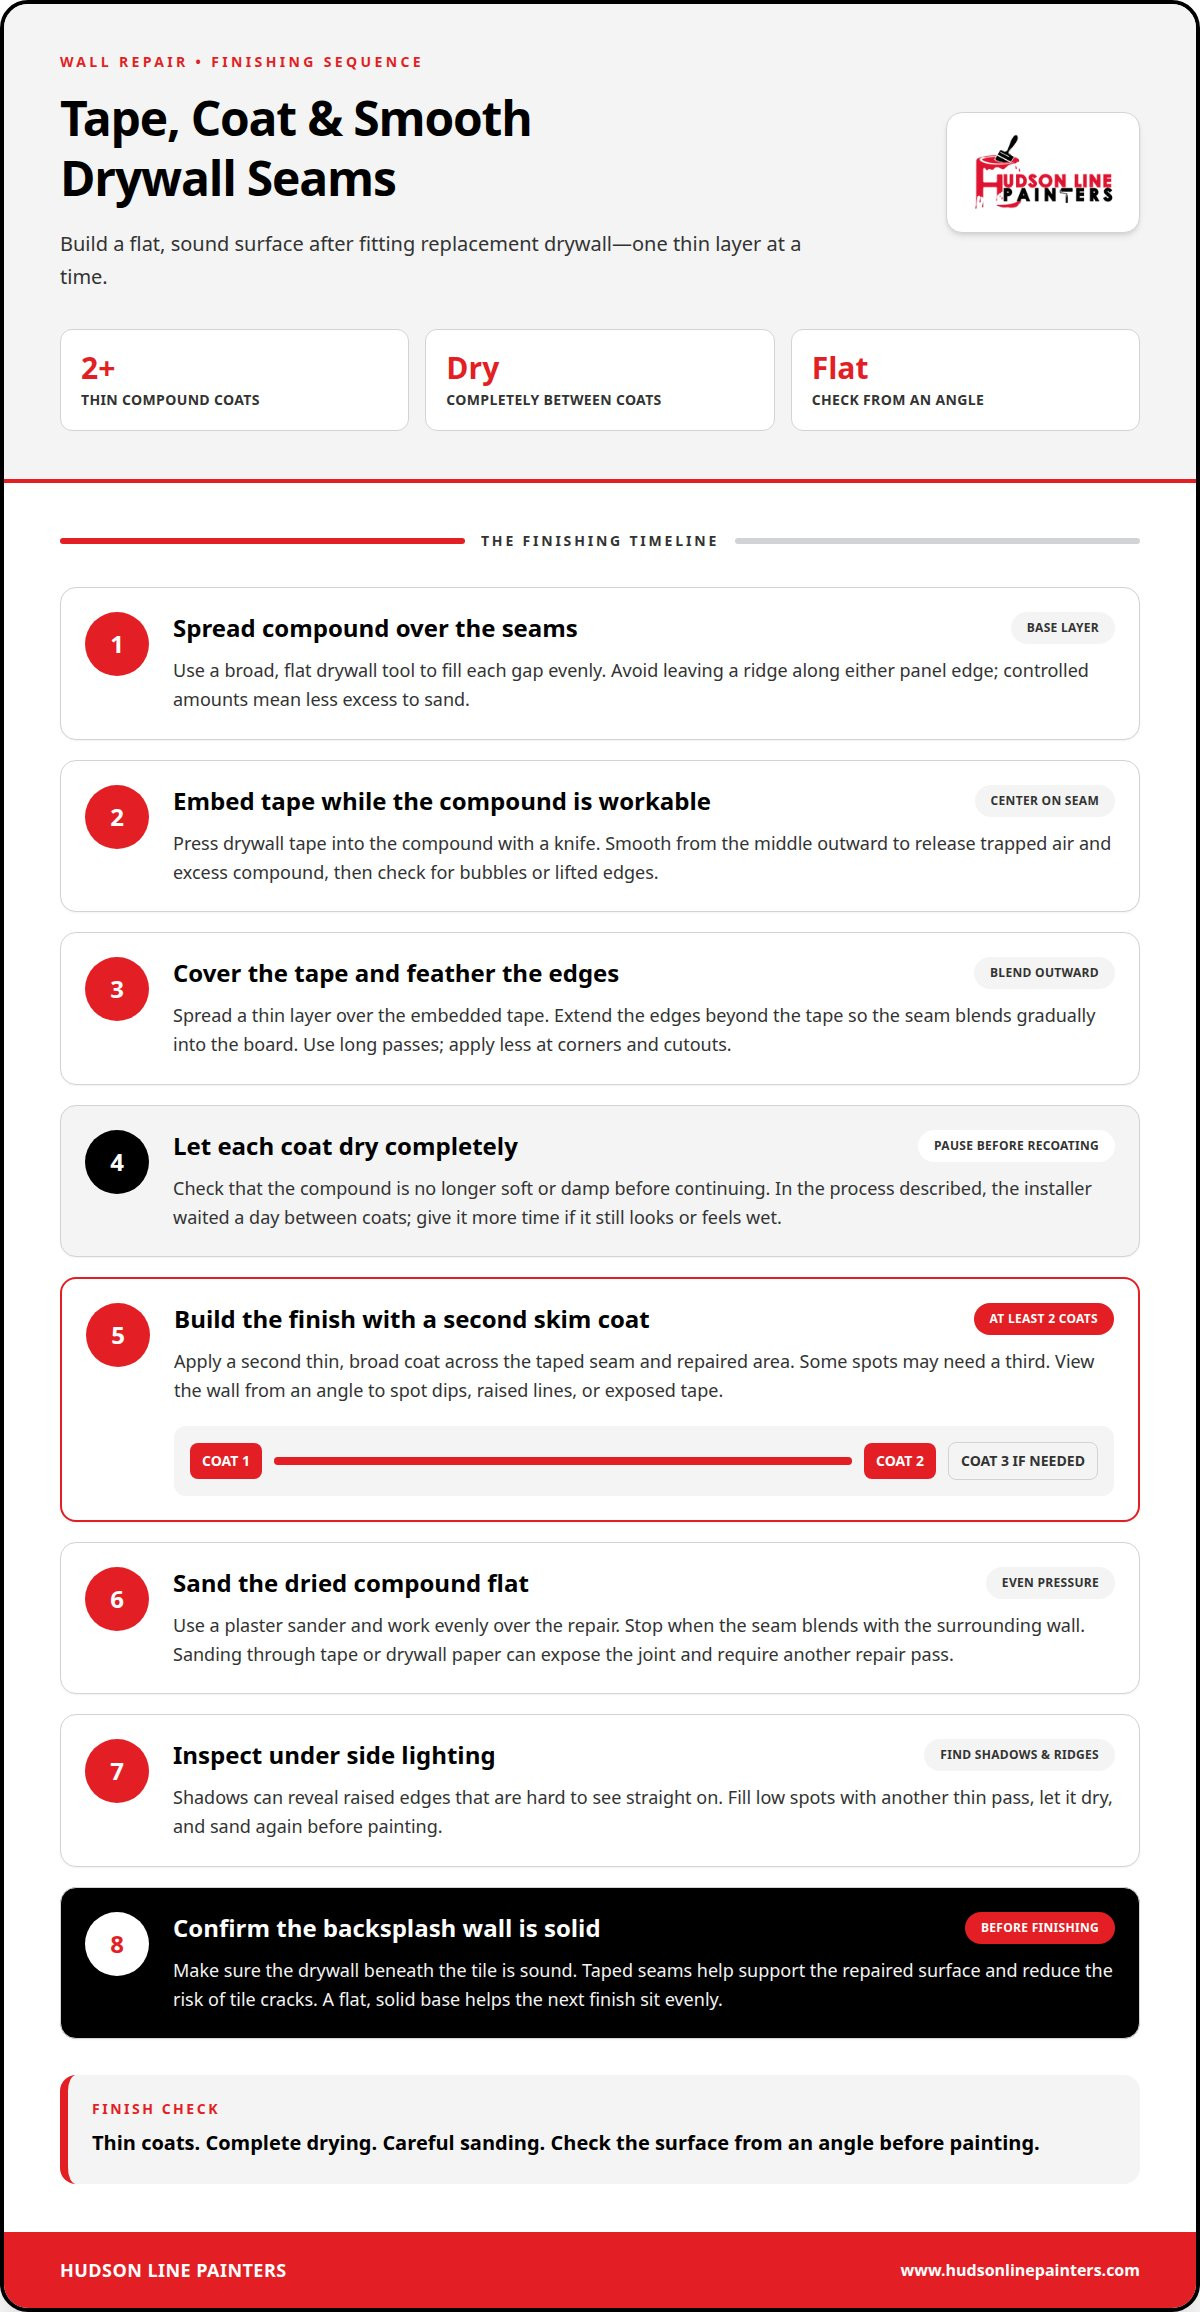
After fitting replacement drywall, tape the seams and build an even surface with joint compound. A sound finish for painting depends on thin coats, complete drying, and careful sanding.
-
Apply Joint Compound
Spread joint compound over each drywall seam with a broad, flat drywall tool. Fill the gap evenly without leaving a ridge along either panel edge. Keep compound nearby on a 12-inch hawk while loading the knife. Use controlled amounts, since excess mud raises the seam and requires more sanding.
-
Tape the Drywall Joints
Embed drywall tape along each seam while the first compound layer is workable. Center the tape, then press it into the compound with a drywall knife. Smooth from the middle outward to release trapped air and excess compound. Check the entire seam for bubbles or lifted edges before covering the tape.
- Spread a thin layer of compound over the embedded tape. Feather the edges beyond the tape so the seam blends gradually into the board. Long passes with a wide tool help prevent ridges from short strokes. At corners and cutouts, use less compound to avoid a bulky edge.
- Let each coat dry completely before applying the next. In the process described, the installer waited a day between coats. Damp compound can affect the next layer, so check the surface before continuing. If it still feels soft or looks damp, give it more time to dry.
- Apply a second skim coat across the taped seam and repaired area. At least two coats create a more even finish, and some spots may need a third. Keep each pass thin and broad. View the wall from an angle to spot dips, raised lines, or exposed tape.
- Sand the dried compound flat with a plaster sander. Work evenly over the repair rather than focusing on one small area. Stop when the seam blends with the surrounding wall. Sanding through the tape or drywall paper can expose the joint and mean another repair pass.
- Inspect the joints under side lighting before painting. Shadows can reveal raised edges that disappear when viewed straight on. Fill low spots with another thin pass, then let it dry and sand again. Knowing how to repair a wall after removing tile means checking the finish, not just covering the seam.
- For a backsplash area, make sure the drywall beneath the tile is solid. Taped seams help support the repaired surface and reduce the risk of tile cracks. When learning how to repair a wall after removing tile, let each finishing stage dry before moving on. A flat, sound base helps the next finish sit evenly.
Cleaning mortar and debris from the wall
Clear raised adhesive and loose debris before applying compound, since bumps can show through the finished surface. If old adhesive may contain asbestos, don’t scrape, sand, or grind it. Stop work and arrange an assessment by a qualified asbestos professional.
- Remove loose fragments from the exposed wall by hand without digging into the surface. Put tile chips and crumbling mortar directly into a container instead of sweeping them across the wall. Clear material that moves freely, then inspect the remaining adhesive. A stable, flat base is easier to finish than a wall covered in loose debris.
- Look for adhesive ridges that stand above the surrounding wall. Hold a straightedge or broad drywall knife lightly across the surface to reveal high spots. Focus on protrusions, not thin, firmly attached residue. The goal is an even plane for compound, not a perfectly bare wall at the expense of sound material.
- Sand protruding tile glue until it sits closer to the surrounding surface. Use controlled strokes and stop when the ridge no longer catches the straightedge. Avoid aggressive grinding, which can gouge the wall and create extra repairs. If the adhesive is suspect, do not sand it. Leave the area undisturbed until it has been assessed.
- Scrape off remaining raised tile or adhesive remnants with careful, shallow passes. Angle the scraper so its edge works against the protrusion instead of driving into the wall. Check each section as you go. If the surface starts to tear, crumble, or expose loose plaster, stop scraping there rather than widening the damage.
- Collect dust and small debris from the wall and nearby work surface. Use a soft brush or vacuum attachment gently, keeping the nozzle from gouging soft drywall. Check corners, seams, and the counter edge, where mortar chips can collect. A clean surface helps joint compound bond to the wall instead of resting on loose particles.
- Run a broad knife across the cleaned area again before applying compound. If it catches on a ridge, smooth only that raised spot and reassess. If it reveals a depression, don’t keep removing sound material to chase a perfectly bare wall. The next step is to fill low areas and blend transitions.
- Distinguish removable residue from material that may be hazardous. Appearance alone cannot establish whether old adhesive contains asbestos. If you suspect it does, avoid disturbing it and wait for professional assessment before continuing with cleaning or wall repair.
Before compound is applied, sand back tile glue wherever it protrudes above the surrounding wall surface. Keep the work focused on the raised glue so the wall can present a flatter base for the next stage. Protruding tile and adhesive remnants also need to be removed before the wall is finished. Address these raised materials as part of preparing the surface: reduce the high points and clear the protruding remnants, with the aim of creating a flat surface. Once those steps are complete, the wall is better prepared for finishing with compound, without making removal of firmly attached, level material the goal.
Cutting out damaged drywall
Cut out drywall that is torn, soft, or no longer firmly attached. Limit the opening to damaged material, then fit a patch that matches the existing wall.
- Mark the damaged area with straight lines around unstable drywall. Include torn paper, crushed edges, and sections that crumble under light pressure. Keep the outline compact, but make sure each edge is firm enough to support a patch. A square or rectangular opening is easier to measure and fit than an irregular tear.
- Check the area before cutting into the wall. Look for visible wires, pipes, outlets, and other obstacles near the planned opening. Use a hand tool and shallow cuts to control the blade. If you cannot tell what is behind the drywall, stop rather than cutting blindly into the cavity.
- Cut along the marked lines with a drywall saw or utility knife. Work slowly at the corners, where the blade can travel beyond the outline. Remove the damaged piece without pulling hard against the surrounding wall. If the edge crumbles further, trim back only until the remaining drywall feels solid.
- Remove loose plaster or drywall that could fall or chip away. Don’t cover unstable material with compound, because it can separate beneath the finished surface. Clear ragged paper and fragments around the opening, but preserve sound wall material. A clean, firm perimeter gives the replacement piece a better fit.
- Measure the opening and cut a replacement patch to fit it. A 2-by-2-foot drywall section can suit a damaged kitchen wall, but size the piece to the actual cutout. Match the new drywall thickness to the existing sheet. Common listed thicknesses include 1/2-inch and 5/8-inch drywall.
- Test-fit the patch before fastening it in place. Its edges should meet the opening without pushing the surrounding drywall outward. Carefully trim any tight edge, then check that the patch sits even with the wall face. A patch that protrudes or sits too deep adds work during taping and mudding.
- Secure the fitted patch with appropriate support and drywall fasteners. Keep it stable and flush without crushing its paper surface. Check each edge for movement before finishing. If the opening is too large or the surrounding wall keeps crumbling, stop enlarging the patch and reassess the repair area.
- Inspect the patched area before applying joint compound. Confirm that the replacement drywall matches the wall thickness and that no loose edges remain. A solid, even patch creates a sound base for taped seams and finishing. For a backsplash, solid drywall beneath the tile helps reduce the risk of cracking.
Removing backsplash tile without damaging drywall
Protect the counter, loosen tiles carefully, and direct prying force toward each tile. Using a pry bar against the wall as leverage can tear drywall and enlarge the repair.
For freshly patched drywall, apply a suitable drywall primer after the compound has dried and the surface has been sanded, before painting.
Repair cost depends on the damaged area, adhesive removal, drywall or plaster work, and finish painting. The price is determined after a quote request, with those project details shaping the estimate.
To match texture and paint, reproduce the surrounding wall texture on the patch, then blend the paint across the transition. Match the existing finish and color as closely as possible.
- Cover counters and appliances with scrap plywood before removing backsplash tile, and secure it so tile fragments cannot slide into protected areas. Clear small items from the work zone, too. A stable barrier protects surfaces beneath the backsplash and limits cleanup.
- Put on work gloves and safety goggles before loosening any tile. Broken ceramic can leave sharp edges, and fragments may fly during removal. Keep your hands away from the tile’s break line. Handle removed pieces carefully rather than grabbing shards.
- Start at an accessible tile edge and work gradually across the backsplash. Use a suitable pry tool to ease each tile away from the wall. Avoid sudden, forceful pulls. A slow release puts less shock on the drywall and helps reveal how firmly the remaining tiles are attached.
- Hold the pry bar perpendicular to the wall, then direct pressure toward the tile. Don’t brace the tool against the drywall or use the wall for leverage. Doing so can crush the gypsum core or pull away its paper face, leaving a larger area to repair.
- Move the tool closer to the tile’s attachment point if resistance increases. Apply controlled pressure, then pause and reassess instead of twisting harder. If a tile breaks, carefully remove the loose pieces and continue from a stable edge. This reduces abrupt force on the surrounding wall.
- Watch the exposed wall as each tile comes free. If drywall paper lifts or chunks detach, don’t pull the damaged material farther. Stop at that spot and adjust your angle or pressure before proceeding. Tile removal can take paint and sections of wall with it, so inspect as you work.
- After removing the backsplash, assess the full exposed area before choosing a repair. Separate stable wall material from torn, loose sections, and note where tile adhesive stands proud. Once repairs and sanding are complete, primer helps prepare the wall for paint. Match texture and paint to the existing surface.
How to assess drywall or plaster damage after removing tile
- Inspect the exposed wall before deciding what repair it needs. Tile removal can pull away paint, drywall paper, or chunks of the wall. Check the entire backsplash area, including edges and corners. Mark visibly loose sections so the repair plan addresses all the damage, not just the most obvious spot.
- Identify the wall surface beneath the tile. Drywall usually has a paper facing over a gypsum core, while plaster has a different, harder finish. In one kitchen project, the surface beneath the tiles appeared to be plaster over masonry. This illustrates why one repair method may not suit every backsplash.
- Check whether the remaining material is firmly attached. Look for loose plaster, crumbling edges, lifted paper, or pieces that shift when touched lightly. Don’t apply plaster or compound over material likely to fall or chip away. Remove unstable material first, then reassess the edge so the repair starts on a sound surface.
- Distinguish surface damage from missing wall material. Paint loss or shallow paper tears may call for surface preparation, while a hole or section without solid backing needs a patch. Note uneven areas, too. Raised spots and open gaps require different repairs, so mark their locations before applying finishing compound.
- If the wall appears to be plaster over masonry, inspect the exposed base where plaster has come away and note whether the remaining plaster is still attached. Don’t treat masonry like drywall or assume a drywall patch will suit it. The repair approach for plaster over masonry must account for the masonry surface.
- Map the damage from one end of the backsplash to the other. For example, a strip of missing paint beside a larger torn section calls for more than one type of repair. Mark the limits of each area, then identify which material remains stable. This helps prevent a small repair from overlooking loose plaster nearby.
- Choose the repair scope based on the wall’s condition, not the tile layout. Keep sound wall material in place, but remove plaster or drywall that may detach. A compact damaged section may be patched; widespread loose material needs more extensive preparation. If patching drywall, match its thickness to the existing wall.
- Reassess the surface after removing unstable material. Confirm that the remaining edges feel firm and the substrate is clear. For drywall, note the thickness and patch dimensions before fitting replacement material. For plaster over masonry, identify exposed masonry separately. A clear assessment helps guide the next steps without mixing repair methods.
In the homeowner’s project, tile removal took chunks of wall and paint with it. Distinguish lost finish from places where wall material is missing, and check that the surrounding edges remain attached. Reviewing the whole backsplash helps identify separate damaged areas instead of treating the exposed surface as uniform.
Let the exposed material and its stability guide the repair scope. After clearing unstable pieces, inspect the newly revealed edges again before deciding whether the area needs surface preparation or a patch.
Hudson Line Painters: Wallpaper Removal
Hudson Line Painters can help when backsplash removal leaves drywall or plaster needing professional repair. Its Drywall & Plaster Repair service addresses wall damage, and Interior Painting can complete the room once the surface is ready. Wallpaper Removal is also available when the renovation includes stripping wallcoverings before refinishing.
Turn to this help when the repair extends beyond a small patch, plaster is loose, or the finished wall needs a coordinated paint refresh. Matching the repair and paint work can create a cleaner transition between the former backsplash area and the surrounding wall.
Plan the finish that brings the room together
Knowing how to repair a wall after removing tile is only part of the room’s next chapter. Once the surface is sound and ready, consider how the new finish will work with the surrounding walls and cabinetry. A coordinated paint refresh can help the repaired area feel intentional rather than like a patch. Hudson Line Painters offers Interior Painting, Exterior Painting, and Kitchen Cabinet Refinishing for homeowners planning related updates.
If the repair includes loose plaster, uneven transitions, or a larger area that needs careful finishing, professional help can make the next steps more manageable. Choose a repair scope that fits the wall’s condition and the look you want for the room.
Your freshly updated wall can be the starting point for a more polished, comfortable space.
Frequently Asked Questions
How do I repair these walls after removing tiles?
First determine whether the exposed surface is drywall or plaster, then choose repairs that suit its condition. For example, a small torn area with firm edges may need filling, while missing drywall needs a fitted patch. Remove loose material, and avoid covering surfaces that may detach. Once the substrate is sound, finish the repair to match the surrounding wall before painting.
When should damaged drywall be replaced instead of patched?
Replace drywall when the damaged section lacks a firm surface for compound, has a hole, or crumbles around its edges. A shallow gouge with intact surrounding paper may be filled instead. For example, if light pressure makes the gypsum core break away, a patch is more reliable than layering compound over it. Match replacement thickness to the existing board so the finished surface does not stand proud.
What primer should be used before patching or painting a wall after tile removal
For freshly patched drywall, apply a primer suited to the repaired surface after the compound has dried and been sanded.


