
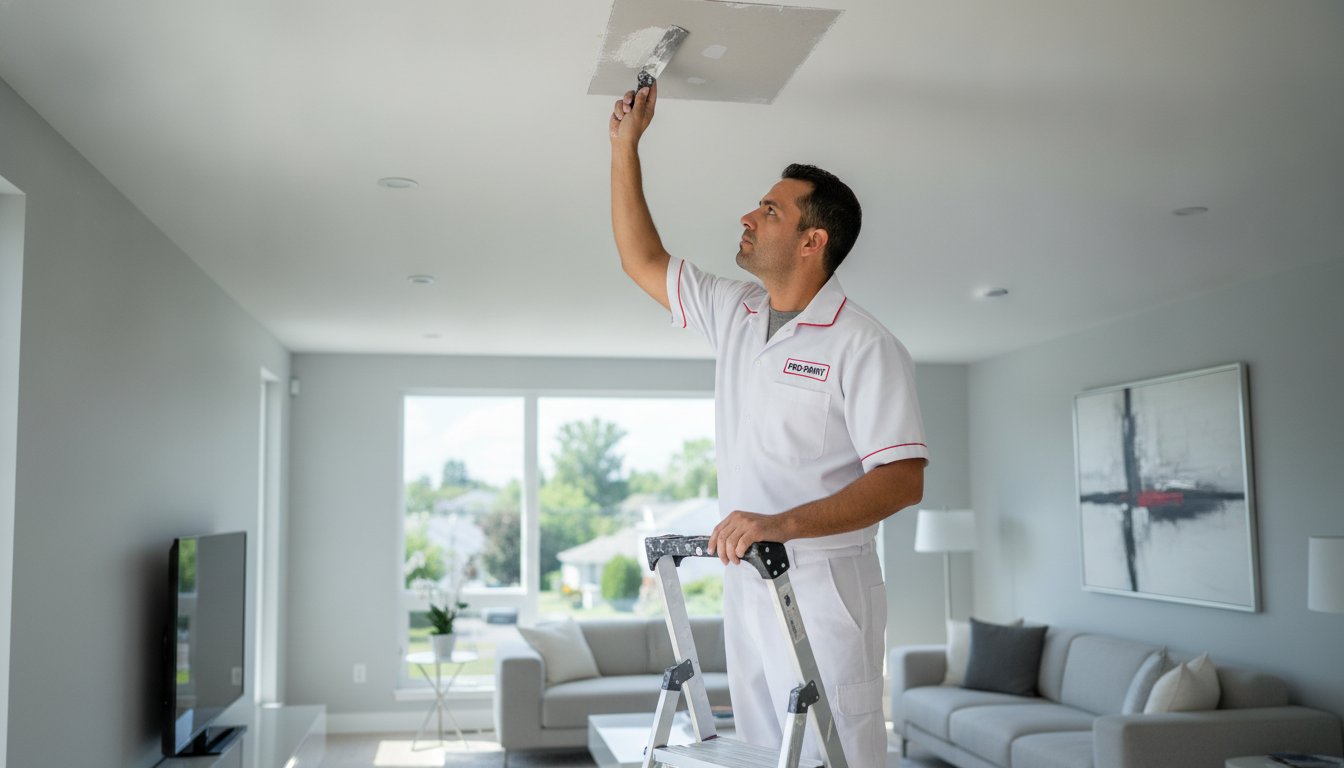
Can you really just "prime and paint" that yellow ring on your living room ceiling, or are you simply masking a structural disaster? Homeowners across New Jersey have stood on a ladder, wondering if a quick coat of sealer is enough to handle water damage ceiling repair before painting. It's a stressful situation. You worry about hidden mold growth, recurring moisture, or ending up with a visible patch that looks like an unprofessional mistake. We understand that your home is your most significant investment, and a "good enough" repair rarely provides long-term peace of mind.
This guide outlines the professional sequence for a flawless restoration to ensure your ceiling is both beautiful and permanent. You'll learn how to properly identify the source of moisture, determine when drywall must be replaced, and master the preparation techniques required for a perfectly smooth finish. From understanding local permit requirements to knowing exactly when to call in a specialist, we provide the technical roadmap you need for a successful home transformation.
Key Takeaways
- Never attempt a repair until the moisture source is 100% dry and verified, as trapped dampness will inevitably ruin your new finish.
- Learn how to perform the "Push Test" to evaluate whether your drywall or plaster maintains the structural integrity required for a lasting repair.
- Follow a disciplined sequence for water damage ceiling repair before painting that includes squaring off damaged areas and installing structural backing for a level surface.
- Stop recurring stains by using specialized stain-blocking primers that chemically prevent tannins from bleeding through your final coat of latex paint.
- Recognize the value of professional blending and texture matching to avoid the "patchwork" look that often plagues DIY ceiling projects.
Identifying and Stopping the Source of Ceiling Water Damage
The golden rule of home maintenance is simple: never rush into a water damage ceiling repair before painting until the source of the moisture is 100 percent dry and verified. Painting over a damp surface is a recipe for disaster. It traps moisture behind a film of primer; this leads to bubbling, peeling, and the inevitable return of that ugly yellow stain. For a comprehensive water damage overview, it is helpful to understand that moisture travels far from its point of entry. This makes the diagnostic phase the most critical part of the process for any NJ homeowner.
In Northern New Jersey, we often see three recurring culprits. First, ice dams during our harsh winters force water up under shingles and into the soffits. Second, the historic homes in our region often feature aging radiator plumbing that can develop pinhole leaks over decades. Finally, simple bathroom seal failures in second-floor tubs are a constant threat. You must confirm the area is ready for repair by using a moisture meter. A reading of 12 percent or lower usually indicates the drywall is dry enough to accept new materials without risk of rot or mold growth.
Diagnostic Steps for NJ Homeowners
Start your investigation in the attic. Look for dark staining on the roof deck or damp, matted insulation. If the attic is dry, check upstairs bathroom fixtures. Grout lines that look intact can still have subtle failures that allow water to seep behind tiles when someone showers. You should also learn to identify "ghosting." This is a dark streak caused by high humidity and dust sticking to cold spots on the ceiling. Unlike an active leak, ghosting doesn't feel damp and doesn't cause the drywall to soften.
When to Call a Plumber vs. a Roofer
Determining who to call depends on when the leak appears. If the stain grows during a heavy NJ spring rain, the issue is likely structural, such as a roof or siding failure. If the stain appears regardless of the weather, it's a mechanical issue with your pipes. Mechanical leaks require a plumber; structural leaks require a roofer. Once the professional fixes the source, ensure the repair area has at least 24 to 48 hours of drying time with proper ventilation before you begin your water damage ceiling repair before painting. This patience ensures your new finish remains flawless for years to come.
Evaluating the Damage: Drywall vs. Plaster Repair
Once you've stopped the leak, you must determine if the substrate is salvageable. A simple cosmetic fix won't hold if the structural integrity of the material is gone. You can perform the "Push Test" by applying firm but gentle pressure around the stained area. If the ceiling feels spongy, moves upward, or sounds hollow, the material has likely delaminated from the joists. This is a critical step in any water damage ceiling repair before painting because applying heavy mud or paint to a sagging ceiling can cause it to collapse entirely under the added weight.
The age of your New Jersey home dictates your repair strategy. Newer homes in areas like Mahwah or Montclair typically use drywall, while historic properties in Ridgewood or Glen Ridge often feature traditional lath and plaster. These materials react differently to moisture. While drywall tends to swell and crumble, plaster can remain hard but lose its "keys," which are the hooks of plaster that wrap around wood lath. This makes it a heavy, unattached slab that poses a safety risk. During this evaluation, always check for dark spots or a musty odor that signals mold growth, as these issues must be addressed before any cosmetic work begins.
Signs Your Drywall Needs Professional Replacement
Sometimes a patch simply isn't enough. If you see bulging seams or joint tape that has completely detached, the moisture has reached the structural fasteners. A soft, crumbly texture indicates the gypsum core has dissolved; this material cannot be "saved" with primer. Additionally, water stains larger than 12 inches often suggest that the fiberglass insulation above is soaked. Wet insulation acts like a heavy sponge, continuing to rot your ceiling from the inside out long after the leak has stopped. If you're unsure about the extent of the damage, consulting a professional for drywall and plaster repair is the safest path forward.
Special Considerations for Historic NJ Plaster Ceilings
Historic Bergen County homes often use wood lath or wire mesh to support thick layers of plaster. When water enters these systems, the weight increases dramatically. If the plaster "keys" break, the ceiling is no longer physically attached to the house. This creates a significant safety hazard. Unlike drywall, which is easily replaced in sheets, plaster requires a meticulous hand to re-secure or skim. If you find yourself overwhelmed by the technical demands of a historic restoration, our team at Hudson Line Painters can provide a professional assessment to ensure your home remains beautiful and structurally sound.
The Professional Repair Sequence for a Seamless Ceiling
Executing a proper water damage ceiling repair before painting requires a disciplined approach that prioritizes structural stability. You cannot simply slap a piece of drywall over a hole and expect a professional result. The goal is to create a repair that is physically integrated with the existing ceiling so that it doesn't crack or sag as the house settles. This systematic method is the only way to ensure your water damage ceiling repair before painting looks like a natural part of the original architecture rather than an obvious, amateur patch.
We follow a proprietary procedural framework that begins with stabilization. First, you must remove all compromised material. This often involves cutting back several inches beyond the visible stain to reach healthy, dry substrate. Once the area is clear, we install wooden "cleats" or backing. These are small strips of lumber screwed into the existing joists to provide a solid surface for the new patch to bite into. Without this backing, the patch relies solely on the strength of the joint compound, which inevitably leads to failure.
Cutting and Prepping the Patch Area
Precision starts with your tools. Use a sharp utility knife or a dedicated drywall saw to create clean, 90-degree angles around the damage. Square or rectangular holes are significantly easier to patch and tape than irregular, jagged shapes. Before you close the hole, take a final look inside the ceiling cavity. Inspect the area for any lingering mold or wet insulation that was missed during the diagnostic phase. Once verified, cut your new piece of drywall to fit snugly; secure it with specialized drywall screws every six inches to prevent future screw pops or movement.
The Art of Mudding and Taping
The transition between the old ceiling and the new patch is where most DIY projects fail. We prefer using fiberglass mesh tape for repair strength because it is self-adhesive and resists cracking better than traditional paper tape in high-stress areas. Follow the "three-coat" rule for a professional finish. Start with a setting coat of joint compound to embed the tape, follow with a wider filling coat to level the surface, and finish with a very thin skim coat. By feathering the compound out at least 12 inches beyond the seam, you create a gradual slope that tricks the eye and prevents the appearance of a visible hump when the light hits the ceiling.
The final step is the most labor-intensive but rewarding. Once the final coat is completely dry, perform a meticulous sanding using a fine-grit sponge. In a lived-in New Jersey home, dust remediation is vital. We recommend using a vacuum-integrated sander or sealing the room with plastic sheeting to protect your furniture and flooring. This ensures a clean, dust-free environment that is ready for the critical priming stage that follows.

Priming and Painting for a Flawless Finish
After the structural work and sanding are complete, your ceiling is technically level but chemically unstable. Many homeowners make the mistake of reaching for a standard latex primer, only to watch the yellow stain reappear within hours. This happens because water-based primers reactivate the tannins and mineral salts left behind by the leak. To successfully complete a water damage ceiling repair before painting, you must use a specialized stain-blocking barrier that creates a permanent seal between the damage and the finish coat. This solvent-based layer is the only way to ensure the stain doesn't migrate through your final layer of paint.
Matching the existing texture is equally vital for a professional result. Whether your home features a modern flat finish, a classic popcorn texture, or a subtle knockdown style, the repair must mirror the surrounding area. We recommend testing your texture application on a scrap piece of drywall before touching the ceiling. Finally, follow the "Wall-to-Wall" rule. Painting only the patch leaves a "halo" effect because new paint has a different sheen than aged paint. Instead, paint the entire ceiling surface to ensure the repair is completely invisible to the naked eye.
Selecting the Right Stain-Blocking Primer
We typically recommend professional favorites like Kilz or Zinsser shellac-based primers for heavy water damage. These products are engineered to dry quickly and lock in odors, though they do require proper ventilation. In older New Jersey homes with limited airflow, we use high-powered fans and open windows to manage the fumes from these high-VOC products. It's also essential to let the primer fully cure for at least 24 hours before applying your topcoat. This patience prevents the finish from bubbling or peeling in the future.
Executing the Final Paint Job
When it's time for the color, "ceiling flat" paint is the industry standard for a reason. Its non-reflective properties are excellent for hiding minor surface imperfections and patches. To avoid visible lap marks, maintain a "wet edge" by rolling in one direction and overlapping each stroke slightly. This meticulous attention to detail is what separates a DIY patch from high-quality interior painting services. If the scope of the project feels overwhelming, we are ready to help. You can reach out to Hudson Line Painters for a seamless restoration that returns your home to its original beauty.
Why Professional Ceiling Restoration is a Smart Investment
Choosing a professional for water damage ceiling repair before painting is about more than just aesthetics; it's a strategic decision to protect your home's value. While a quick DIY patch might save money today, an amateur repair often results in a "patchwork" look that is impossible to hide under a fresh coat of paint. Visible humps, mismatched textures, or lingering stains serve as a constant reminder of the damage. By investing in professional restoration, you ensure a seamless blend that returns your room to its original, pristine state. This meticulous attention to detail is what defines a true craftsman's work.
Safety and health are equally important considerations. In New Jersey's humid climate, moisture trapped behind a ceiling can quickly lead to mold growth if not addressed by experts. Professionals don't just cover up the problem; they verify the structural integrity of the substrate and ensure the environment is healthy. A professional repair is built to last, resisting the expansion and contraction caused by our state's seasonal temperature swings. This long-term durability prevents the recurring cracks and peeling that often plague hurried, non-professional water damage ceiling repair before painting attempts.
The Hudson Line Painters Difference
We take pride in our systematic approach to every project. Our team utilizes advanced site protection and dust containment protocols to ensure your living space remains clean throughout the process. We possess the deep expertise required to handle both modern drywall and the historic plaster systems found in older NJ neighborhoods. This specialized knowledge allows us to provide a seamless transition from structural repair to premium interior painting. We view every ceiling as a canvas that requires technical precision and artistic care to achieve a flawless finish.
Ready for a Flawless Ceiling?
If you are dealing with the aftermath of a leak, don't settle for a temporary fix. We provide detailed local estimates for homeowners across Hudson, Union, and Bergen County. Bundling your ceiling repairs with a full room refresh is often the most efficient way to revitalize your home. You can trust our disciplined process to deliver peace of mind and a result that stands the test of time. Contact Hudson Line Painters for a professional consultation today to discuss your project and schedule a site visit with our experienced team.
Restore the Beauty and Safety of Your NJ Home
A water-damaged ceiling is more than a cosmetic nuisance; it's a structural challenge that requires a disciplined, step-by-step response. By verifying the moisture source first and selecting the correct repair strategy for your specific substrate, you ensure that your restoration is permanent. The secret to a flawless finish lies in technical preparation, from structural backing to the chemical barrier of a stain-blocking primer. Executing a successful water damage ceiling repair before painting transforms a significant source of household stress into a finished product that looks as good as the day it was first installed.
Since 2018, our team has helped homeowners across Hudson, Union, and Bergen Counties navigate these complex repairs. We specialize in both historic plaster and modern drywall restoration, bringing meticulous dust containment and professional site etiquette to every project. We understand the value of your environment and treat your home with the respect it deserves. Don't let a lingering leak define your space when a professional transformation is just a consultation away.
Request Your Free NJ Ceiling Repair & Painting Estimate
We look forward to helping you achieve a perfectly smooth, long-lasting finish for your home.
Frequently Asked Questions
Can I just paint over a dried water stain?
Painting over a dried water stain without a primer will result in the stain bleeding through your new finish. Standard latex paints are water-based, which reactivates the minerals and tannins in the stain. You must apply a high-quality, stain-blocking primer first to create a chemical barrier. This ensures your water damage ceiling repair before painting remains invisible and permanent. Skipping this step often means you'll be repainting the same spot within a few weeks.
How long should I wait for a ceiling to dry before repairing it?
You should wait at least 24 to 48 hours after the source of the leak is fully repaired and the area feels dry to the touch. However, professional contractors use a moisture meter to verify the substrate is below 12 percent moisture content. Factors like local humidity and the amount of insulation behind the ceiling can extend this drying time. Rushing the process traps moisture; this leads to bubbling paint and potential rot.
Does water damage always mean there is mold?
Water damage doesn't always mean mold is present, but the risk increases significantly after 24 to 48 hours of saturation. Mold spores thrive in damp, dark cavities behind drywall and plaster. If you notice a musty odor or dark, fuzzy spots, you should have the area inspected by a professional before sealing it with new materials. Proper drying and ventilation are your best defenses against long-term health risks in your New Jersey home.
What is the best primer for water-damaged ceilings?
The best primers for water-damaged ceilings are oil-based or shellac-based products. Professional favorites like Zinsser B-I-N or Kilz Restoration are engineered to lock in stains and odors permanently. Avoid using standard water-based primers for the first coat, as they'll simply dissolve the stain and pull it into the new layer. Once the solvent-based primer is fully cured, you can safely apply your final latex topcoat for a flawless finish.
How much does it cost to repair a water-damaged ceiling in NJ?
The cost of repairing a water-damaged ceiling varies based on the size of the area and the material involved. Minor cosmetic patches are generally more affordable, while structural repairs involving joist backing or large-scale sheet replacement require more labor. Historic plaster repairs also tend to be more complex than modern drywall fixes. We recommend a professional site visit to provide an accurate estimate based on the specific conditions and height of your ceiling, though you can discover more about Project-based Handyman and Remodeling Fees to see how professional services typically structure their pricing models.
Is it better to repair or replace a water-damaged ceiling?
It's better to repair the ceiling if the damage is localized and the material passes the "Push Test" for structural integrity. If the drywall is sagging, crumbling, or has detached from the joists, a full replacement of the affected section is necessary. Replacing a larger section often results in a smoother, more seamless finish than trying to blend multiple small patches. A professional assessment can help you choose the most cost-effective long-term solution.
Can water-damaged plaster be saved or must it be replaced?
Water-damaged plaster can often be saved if the structural "keys" that hold it to the wood lath are still intact. If the plaster has delaminated or pulled away from the ceiling, it becomes a safety hazard and usually requires specialized re-securing or replacement. Historic plaster is a valuable feature of many Bergen County homes, so we prioritize preservation whenever possible. However, if the material is soft and saturated, replacement is the only way to ensure safety.
Should I call a painter or a drywall contractor for water damage?
You should look for a professional team that specializes in both drywall repair and interior painting. While some drywall contractors only handle the structural work, a professional painting team ensures the final finish is perfectly blended and textured. This integrated approach prevents the "patchwork" look and provides a single point of accountability. Choosing a team that understands the complete water damage ceiling repair before painting sequence ensures a seamless and beautiful result.


